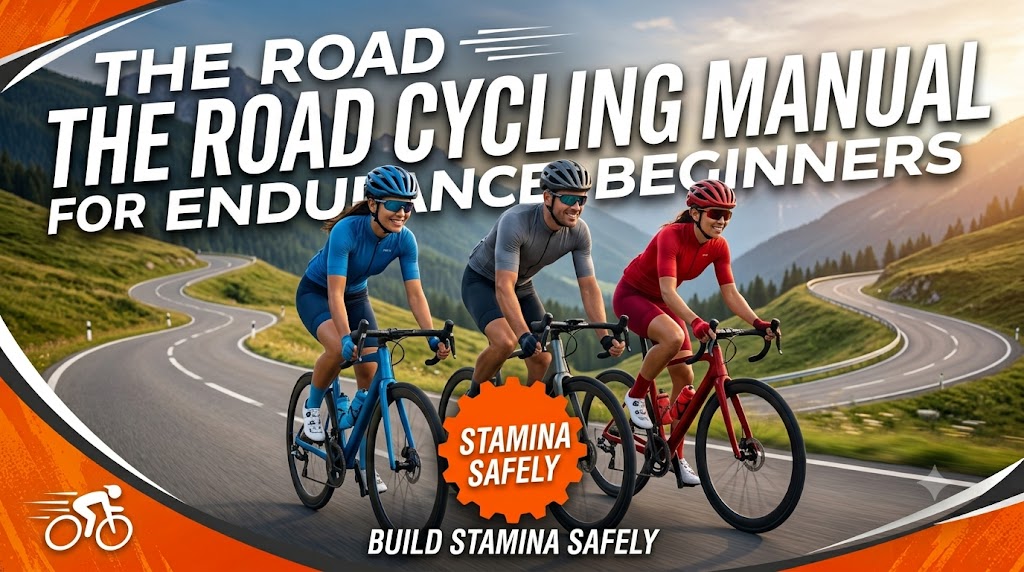
Choosing to step away from indoor fitness routines and entering the world of outdoor road cycling is one of the most liberating choices you can make for your body and mind. Cycling is a premier cardiorespiratory endurance sport that challenges your lungs, builds exceptional lower-body muscle definition, and enhances metabolic health. Unlike high-impact sports such as running, cycling is a non-weight-bearing activity. Because your body weight is supported entirely by the bicycle saddle, the repetitive, violent ground-impact shock waves are completely eliminated, making it an exceptionally safe option for your knee joints and lower spine.
However, many beginner cyclists fail within their first few weeks because they treat a complex mechanical machine like a simple toy. They purchase incorrectly sized bicycles, set their saddles way too low, pedal in heavy gears with slow cadences, and ride until their lower backs and knees lock up with intense pain. To build a sustainable cycling habit, avoid severe injury cycles, and comfortably log multi-hour group rides out on the open highway, you must adopt a highly structured, technical approach. This comprehensive beginner manual breaks down every critical element of road cycling engineering and training design.
1. The Geometry of Comfort: The Absolute Science of Bike Fitting
Riding a bicycle that does not match your unique skeletal dimensions is an absolute guarantee for early physical exhaustion and chronic overuse injuries. You must ensure your bike setup is mechanically optimized.
- The Saddle Height Calculation: When sitting fully upright on the saddle with your heel placed directly on the pedal at its lowest point, your leg should be completely straight. This means that when you slide your foot into the proper riding position (ball of the foot over the pedal spindle), your knee will maintain a highly safe 25 to 30-degree bend at the bottom of the pedal stroke. A saddle that is set too low forces your quadriceps to overwork, causing acute kneecap pain, while a saddle that is too high causes your hips to rock side to side, straining your lower back.
- The Fore-Aft Saddle Position: Adjust the horizontal rails of your saddle so that when the pedal cranks are perfectly horizontal (3 o'clock and 9 o'clock positions), a plumb line dropped from the front bony part of your forward knee falls directly through the center of the pedal axle. This alignment maximizes torque production while shielding your patellar tendon from destructive stress vectors.
- Handlebar Reach and Stack: The distance between your saddle and the handlebars must allow your torso to tilt forward comfortably at a relaxed 45-degree angle, with your elbows slightly bent to act as natural shock absorbers on bumpy roads. Avoid riding with locked, straight arms, as this passes road vibrations straight into your neck and shoulders.
2. Mechanical Efficiency: Mastering Cadence and Gear Selection
Amateur cyclists frequently assume that riding a bicycle requires pushing the heaviest, hardest gear possible to build leg strength. This mistake is known as "grinding" and it quickly drains your energy reserves while destroying your knee cartilage.
To build infinite endurance, you must learn to spin instead of grind. Cadence refers to the total number of complete revolutions your pedals make in one single minute (RPM). Aim to maintain a steady cadence between 85 and 95 RPM. Use your bike's shifters continuously to manage changes in wind resistance and road inclines:
- When Climbing Hills: Shift into a small chainring in the front and a larger cog in the back to keep your legs spinning smoothly above 80 RPM without standing up and exhausting your muscles.
- When Riding on Flat Roads: Shift into a larger front chainring to increase your forward velocity while maintaining that exact same comfortable, rhythmic pedaling cadence.
3. The 8-Week Progressive Endurance Matrix
To systematically build your aerobic engine without triggering chronic physical burnout, you must follow a structured, progressive mileage plan. Your body requires time to condition your heart muscle and adapt your glutes to sitting on a saddle for long periods.
| Training Phase | Target Cadence Range | Weekend Long Ride Distance | Core Physiological Goal |
| :--- | :--- | :--- | :--- |
| Weeks 1-2: Base Building | 80 - 85 RPM | 15 Kilometers | Conditioning muscles and adapting to the saddle shape. |
| Weeks 3-4: Aerobic Expansion| 85 - 90 RPM | 25 Kilometers | Optimizing fat oxidation and cardiovascular stroke volume. |
| Weeks 5-6: Efficiency Scale | 85 - 90 RPM | 40 Kilometers | Enhancing lung volume and building high capillary density. |
| Weeks 7-8: Peak Endurance | 90 - 95 RPM | 60 Kilometers | Executing long-distance endurance paths with ease. |
4. Crucial Road Safety Protocols and Group Ride Etiquette
Outdoor road cycling requires sharing public infrastructure with fast-moving motorized vehicles. Your absolute primary priority must always be safety and visibility.
- The Non-Negotiable Helmet Rule: Never turn the pedals without securely fastening a high-quality, impact-tested cycling helmet. Look for helmets featuring MIPS (Multi-directional Impact Protection System) technology, which significantly reduces rotational forces passed to the brain during a crash.
- Active Electronic Visibility: Equip your bicycle with an ultra-bright, flashing red rear light and a powerful white front light, even when riding in wide daylight. Drivers need to spot you from hundreds of meters away to give you ample room to navigate.
- Predictable Road Movement: Always ride in the exact same direction as vehicle traffic flow, sticking strictly to the left side of the lane (or the designated bike lane). Obey every single traffic signal, stop sign, and lane marking. Never use headphones or smartphones while riding; your ears must listen continuously to the sounds of approaching engines.
- Hand Signals and Verbal Communication: When riding with other cyclists, use clear hand gestures to point out road hazards like potholes, loose gravel, or broken glass, and call out intentions like slowing or turning left well in advance.
5. Nutritional Strategy and Intracellular Hydration
Cycling burns a tremendous amount of energy, frequently expending upwards of 600 to 800 calories per hour depending on your speed and the terrain. You must fuel your biochemical engine properly.
- The Fueling Directive: For any ride lasting longer than 60 minutes, you must actively consume exogenous carbohydrates while moving. Eat easily digestible snacks like energy bars, bananas, or specialized carbohydrate energy gels every 45 minutes to keep your liver glycogen pools fully loaded.
- The Hydration Protocol: Carry two large water bottles mounted directly onto your bike frame. Fill one bottle with plain clean water and fill the second with a highly concentrated electrolyte solution rich in sodium and potassium. Take two large swallows of fluid every 15 minutes. Do not wait until your throat feels parched to drink; dehydration lowers blood volume, makes your heart work harder, and causes sudden, severe leg muscle cramps.
- Post-Ride Cellular Regeneration: Within 45 minutes of finishing your ride, consume a balanced recovery meal containing a 3:1 ratio of carbohydrates to clean proteins to halt muscle breakdown and fast-track cellular repair.
 Back to Blog